


Why Shoe Anatomy Matters for Comfort, Longevity, and Injury Risk

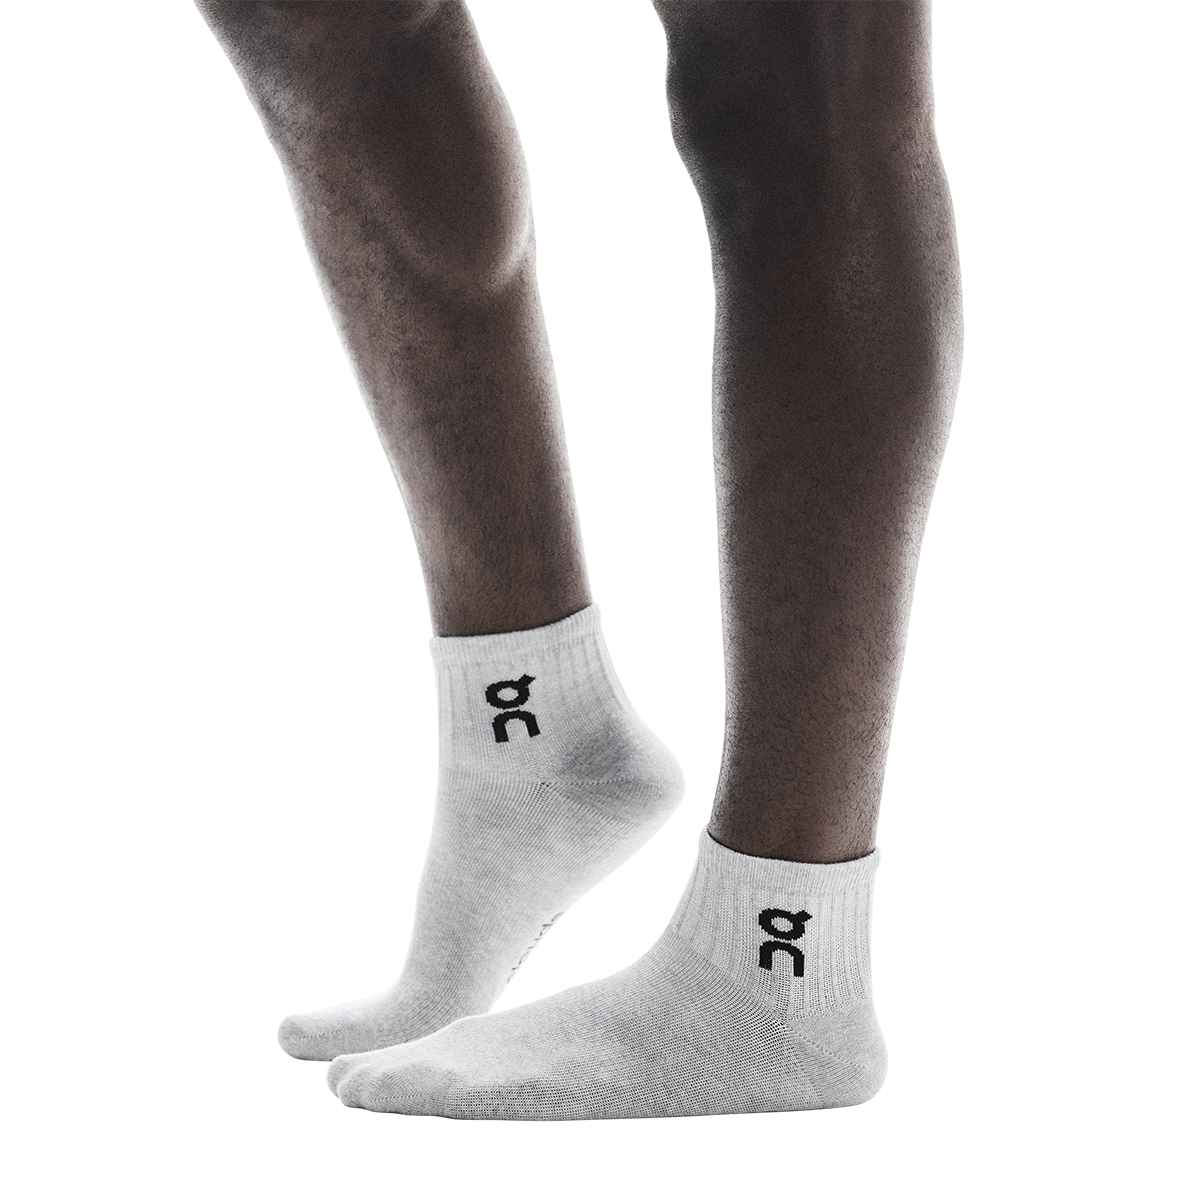
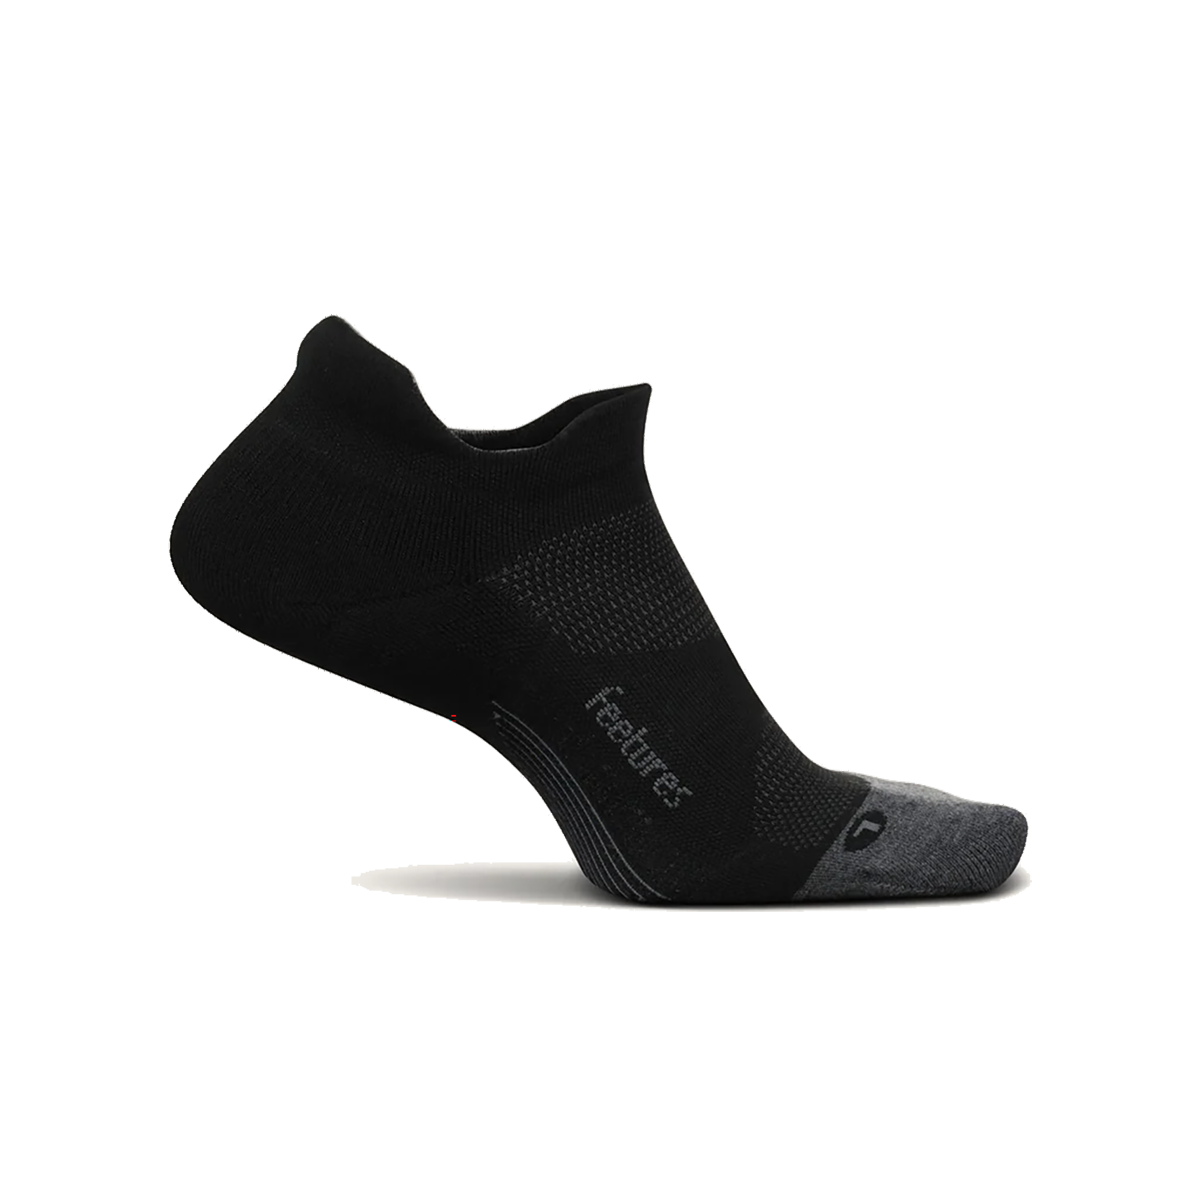
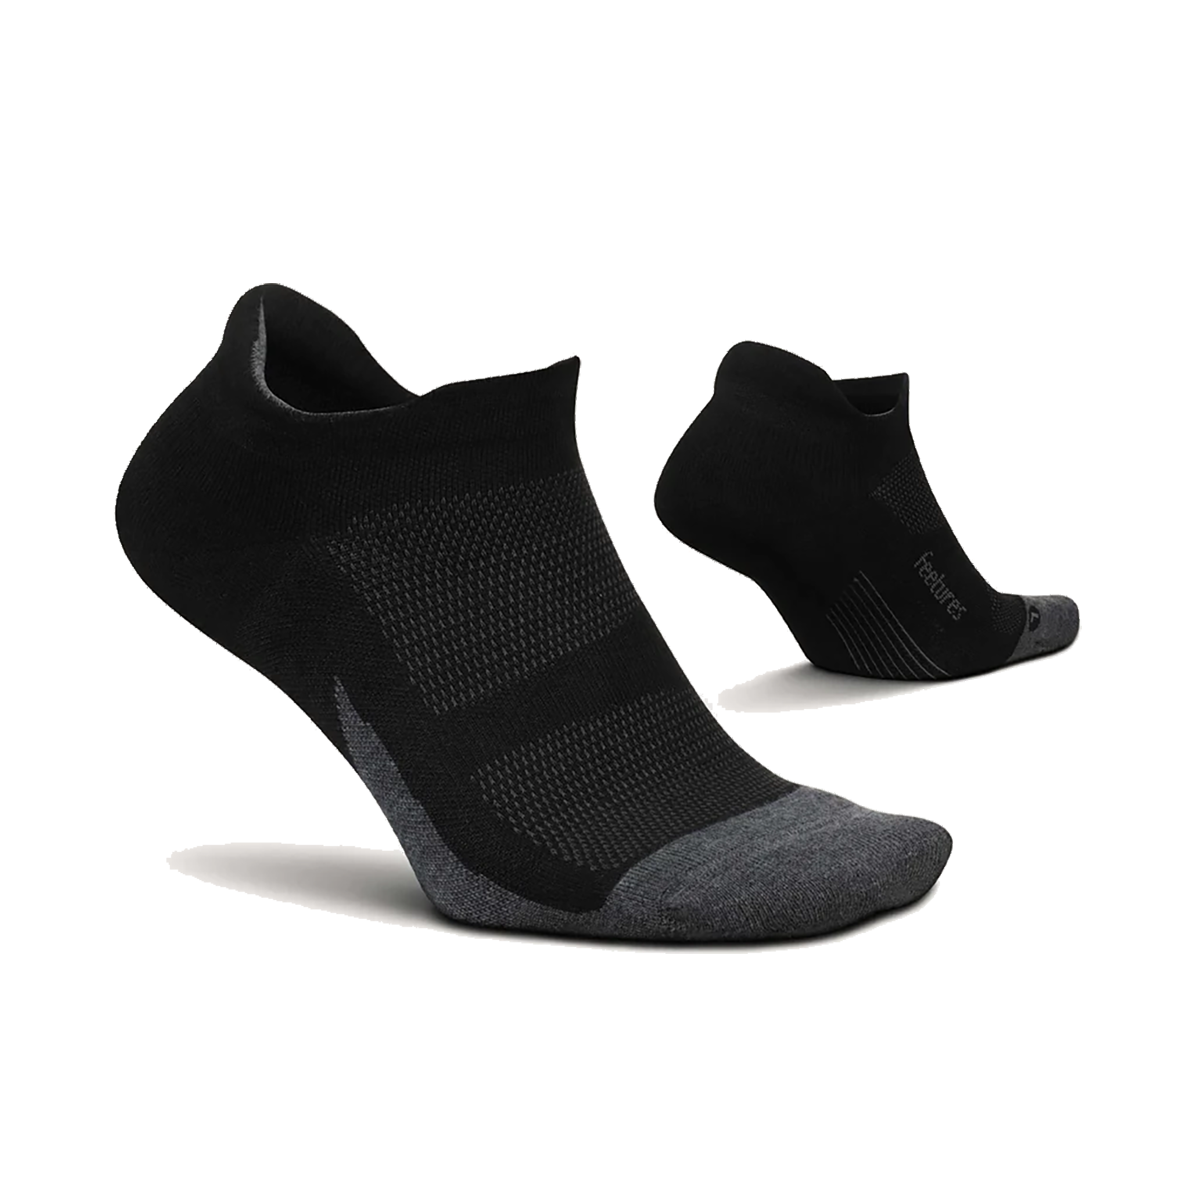
Breathability vs Structure: Prevent Hot Spots Without Losing Hold
Stop hot spots without sacrificing hold. Learn how uppers, overlays, socks, and insoles work together for cool, secure miles—plus a quick decision matrix and fit tips.

Insoles & Orthotics: When to Swap, Stack, or Skip
Not sure if you should swap your stock liner, stack a thin insert, or skip insoles altogether? Here’s a clear decision framework, pro fit tips, and curated picks to keep every mile smooth—no guesswork.

Drop, Rocker, and Calf Load: Pick a Shape That Loves Your Stride
Shoe geometry matters. Use our quick matrix to match heel-to-toe drop and rocker shape to your stride, dial calf/Achilles load, and pick confident-feeling trainers for U.S. roads, treadmills, and trails.

How Anatomy Affects Fit & Sizing: Toe Box Volume, Length, and Last Shape
Match your foot’s anatomy to the right toe box volume, length, and last shape—then lock in a confident, comfortable fit for every run.
Why Shoe Anatomy Matters for Comfort, Longevity, and Injury Risk
Turn shoe parts into outcomes: comfort, consistency, and fewer returns. Practical checklists that tie design choices to how your runs feel.