


HYROX is part 1K repeats, part functional grit, and all about rhythm. You’ll run eight laps and work through eight stations that test control as much as conditioning. The right prep—training you can actually stick with, gear that feels invisible when the clock starts, and a clean race‑day plan—turns that chaos into a flow you’ll look forward to. As your Fit2Run crew, we’re here for practical, coach‑level guidance and clear buying decisions so you can show up confident, move fast, and have fun. Let’s get after it. 💪🏽
What “ready for HYROX” really looks like
Ready isn’t a magic number on your watch. It’s a steady aerobic engine, durable legs for pushes and lunges, and simple systems for transitions. If you can hold a “comfortably hard” run without spiking, move competently on the ski/row, and keep technique when your heart rate climbs, you’re in the zone. The good news: you can build that with a repeatable split, a few smart gear choices, and a clear fueling plan. We’ll cover each—then pull it together with packing and race‑morning checklists.
Foundations that make training stick
Consistency beats hero workouts. HYROX rewards the athlete who shows up five to seven times each week, practices the exact skills they’ll race, and learns how to pace by feel. If you want a plug‑in structure you can follow without overthinking, head to 8‑Week HYROX Prep: Run/Strength Split You Can Stick To. It breaks training into four run‑centric days, two strength + station sessions, and one recovery day, with easy intensity cues you can learn in a week. The rhythm is simple: build for five weeks, consolidate for two, then taper into race week so you toe the line with pop in your legs, not fatigue.
Why we like that split for busy athletes:
- Predictable stress: You’ll rehearse 1K pacing, then lift and move in the exact patterns you’ll race. Familiarity = calmer race brain.
- Progress you can feel: Short, repeatable intervals on the rower and ski erg help you sense smoother technique—not just bigger numbers.
- Recovery stays in view: Easy runs and mobility blocks prevent you from stacking hard days that snowball into niggles.
Race‑pace without drama: mastering the in‑arena rhythm
Indoor courses are tight, loud, and controlled for temperature. That means sweat rates can rise even when you “feel” cool, and turns sneak up as you’re breathing hard. Pacing by feel plus tidy transitions can save big chunks of time over a full race. For a full, coach‑built playbook—including RPE guidelines and how to flow on/off machines—bookmark Race‑Day Strategy: Pacing, Transitions, and Station Setups. You’ll find station‑to‑station cues, micro‑checks to avoid red‑lining, and transition habits that make your kit feel “automatic.”
Quick pacing truths most athletes learn fast:
- First run: controlled. Think your 10K “comfortably hard,” not your 5K bite. Let speed come to you, especially after early stations.
- Machines are skill stations. Sit tall, drive with legs, keep hands relaxed. Leave feeling ready to jog, not wheezing.
- Micro‑recover without stopping. Lengthen exhales on corners, shake out hands before entering the next station, and reset posture.
Footwear for mixed stations: control versus speed
Your shoes need to corner on polished concrete or carpet, brace under sleds and burpees, and still feel fluid over eight run segments. That creates a classic choice: stay planted with a stable trainer, or roll faster with a super shoe or super trainer. If you want a deeper dive with examples and fit tips for U.S. indoor venues, read HYROX Footwear: Stable Trainers vs Super Shoes for Mixed Stations. It explains platform width, torsional control, rockered rides, and how stack height affects bracing on sleds and lunges.
High‑level guidance to decide quickly:
- Prioritize station control? A flatter, wider base and torsional stability keep you braced during sleds, farmer’s carries, and burpees.
- Need help on the runs? A plated trainer or super shoe can return seconds per lap if you can still land and cut with confidence.
- Transitions matter. Secure lockdown and a heel that doesn’t “lift” in burpees prevent re‑tying detours.
Decision matrix: footwear choices by priority
Use this compact table to match your style to a shoe type. If you’re between rows, many athletes land on a plated “super trainer” as a middle ground.
| Priority | Stable Trainer | Super Trainer | Super Shoe |
|---|---|---|---|
| Station control (sleds, lunges, burpees) | Strong: wide base, lower stack, torsional stability | Moderate: more cushion, still stable if platform is wide | Variable: fast but can feel tippy under lateral load |
| Run speed between stations | Steady but less “pop” | Balanced: rocker + rebound help laps without sacrificing much control | Fastest: most energy return and rolling feel |
| Cornering on indoor surfaces | Predictable bite; easier foot placements | Good if outsole rubber is tacky and forefoot is stable | Strong straight‑line speed; careful on tight turns |
| Transition reliability | Least fiddly; secure in floor work | Good with proper heel lock | Light, quick on; may require extra attention to lacing |
| Who it’s for | Technique‑first athletes and sled‑dominant racers | Balanced racers; strong mechanics; mixed priorities | Run‑first racers with dialed station skills |
What to wear so burpees, sleds, and carries feel smooth
Clothes can make or break your rhythm—too hot and you’ll fade, too loose and you’ll fidget. Look for breathable knits that wick, strategic mesh where you run hottest, and waistbands or straps that hold through sled drives without digging in. If you’d like specific picks, inseam guidance, and fit tips for a range of climates (from humid arenas in the Southeast to cooler venues up north), see What to Wear: Breathable Kits That Survive Burpees and Sled Pushes. It breaks down shorts that don’t ride, bras that stay put under plyos, and hybrid trainers that match your movement.
Apparel principles we trust across athletes:
- Wick and vent: Recycled polyester/elastane blends move sweat fast; mesh panels breathe at the back and inner thigh.
- Minimize friction: Bonded hems and fewer seams cut hotspots as you hit the floor and pop back up.
- Secure coverage: Drawcords, compressive liners, and adjustable straps keep everything in place during lunges and burpees.
Hydrate and fuel for indoor waves without overcomplicating it
Indoor events are a gift—you can plan every sip. Temperatures stay steady and wind is zero, so sweat can sneak up even if you don’t feel hot. Your nutrition should be compact, predictable, and within reach so transitions stay clean. For simple, wave‑time timelines (what to take, when, and how much), use Fuel & Hydrate for Indoor Races: Simple Plans by Wave Time. It covers carbs per hour by wave length, fluid and sodium ranges, and optional caffeine timing—plus carry setups you can practice in training.
General starting points many athletes land on:
- Carbs: Roughly 30–60 g per hour for most HYROX wave durations; practice your exact products on simulation days.
- Fluids: 12–18 oz per hour as a baseline indoors, delivered in small, frequent sips.
- Electrolytes: Keep sodium steady each hour rather than “catching up” late.
How to carry fluids and calories without slowing down
Some athletes rely fully on venue aid; others like having one soft flask or a few gels on them. The right choice depends on how you handle transitions and your venue’s layout. Here’s a decision matrix to help you dial it in.
| Carry option | Access speed | Capacity | Bounce risk | Best for |
|---|---|---|---|---|
| No carry (aid table only) | Fast if table sits on your line; slower if crowded | Low (sip per lap) | None | Shorter waves, athletes confident in sticking to aid |
| Nutrition/bib belt | Very fast gel access; hands free | Gels/chews only | Very low when snug | Racers who want IDs, bibs, and a couple gels secure |
| Hydration belt (1–2 flasks) | Quick one‑hand pulls | Moderate (10–20 oz) | Low when properly fitted | Steady sippers who prefer skipping aid tables |
| Slim race vest | Quick with practice | Higher (up to ~1L), pockets for nutrition | Low if adjusted; slightly warmer | Training days, longer events, or athletes who like storage |
Practical picks to consider as you test your system:
- If you want bib security and gel access without pins, a streamlined option like the Nathan Race Number Nutrition Belt keeps your number visible and a couple of gels locked down. It’s a simple way to stay hands‑free through transitions.
- Prefer to carry your own fluid and skip crowded aid? A two‑bottle belt such as the Nathan Trail Mix Plus 2 Hydration Belt balances weight evenly, reduces slosh, and makes sip‑and‑go simple on the run path between stations.
- Training long or practicing with extra storage? A minimalist vest like the Nathan QuickStart 2.0 6L Race Vest carries soft flasks, layers, and nutrition during longer sessions or outdoor prep days. It’s overkill for many race waves but clutch for higher‑volume training blocks.
Station skills that spare your legs
Grippy hands and happy knees make sleds, sandbags, and lunges feel 10× more manageable. Technique and small equipment choices work together here. If you’ve ever shredded your palms on a slick rope or felt your knees bark on turf, you’ll appreciate the real‑world advice in Sleds, Sandbags, and Lunges: Grip, Gloves, and Knee Sleeves. It explains when bare hands are actually better, what glove textures help on rope pulls, and when 5 mm vs 7 mm knee sleeves make sense for lunges.
Technique reminders to practice on station days:
- Sled push: Stack wrists, lock elbows, and drive from midfoot. Keep your torso “long” to prevent slipping.
- Sled pull: A tacky palm or light glove can reduce re‑grips on slick ropes. Keep shoulders packed and step back into tension.
- Sandbag carry: Use finger pad friction; light chalk sparingly. Over‑chalking turns paste‑y when sweaty and reduces traction.
- Walking lunges: Think vertical shin on the front leg and keep the knee tracking your middle toes. Sleeves add comfort on turf contact.
Simple progress checks so you know you’re ready
You don’t need a lab test. Sprinkle in a few repeatable “mini‑tests” inside your training weeks. Examples:
- Run‑machine bricks: 2–3 rounds of 1K run + 500 m row at planned race effort. Note breathing and how quickly form returns after transitions.
- Carry under fatigue: After threshold 1Ks, hit a timed farmer’s carry. Can you maintain posture and cadence without over‑squeezing?
- Sled feel: Rehearse your first 20–30 meters multiple times at sub‑max effort. You’re checking traction, hand position, and posture.
For athletes managing high mileage or history with cranky tendons, an occasional reduced‑impact day can keep your momentum intact. For practical guidance on swapping in cross‑trainer sessions without losing fitness, this related resource can help: When to Use a Cross‑Trainer Day to Offload Tendons.
Build your race kit: a checklist that actually stays short
There’s freedom in showing up with less. Here’s a lean list that covers most HYROX and other indoor hybrid events:
- Shoes: Your chosen pair from the footwear matrix above; lace with a reliable heel lock.
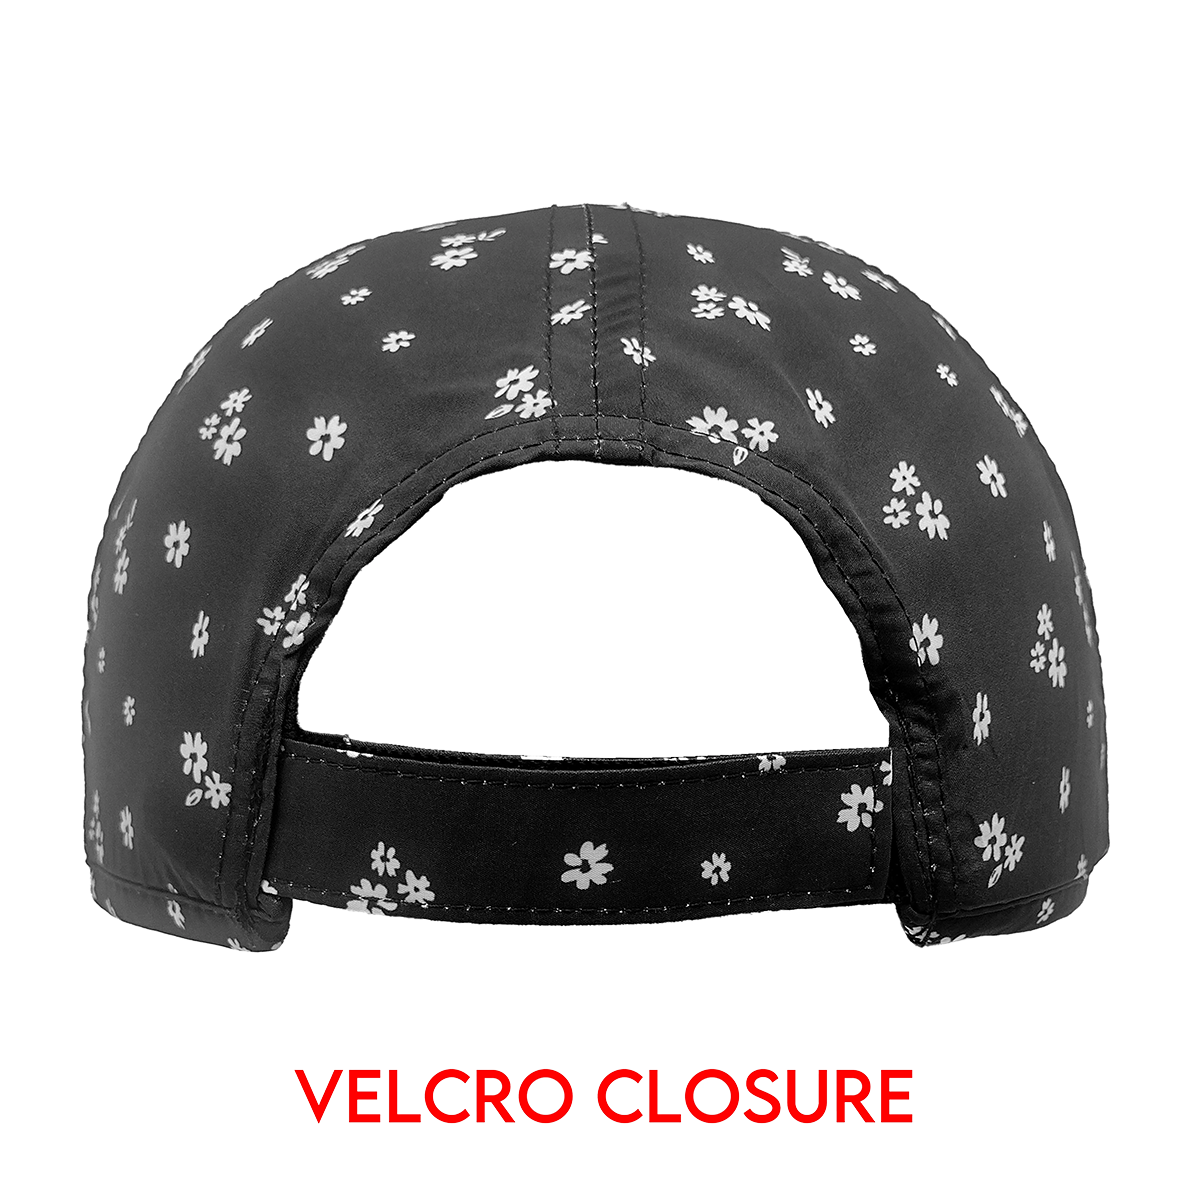
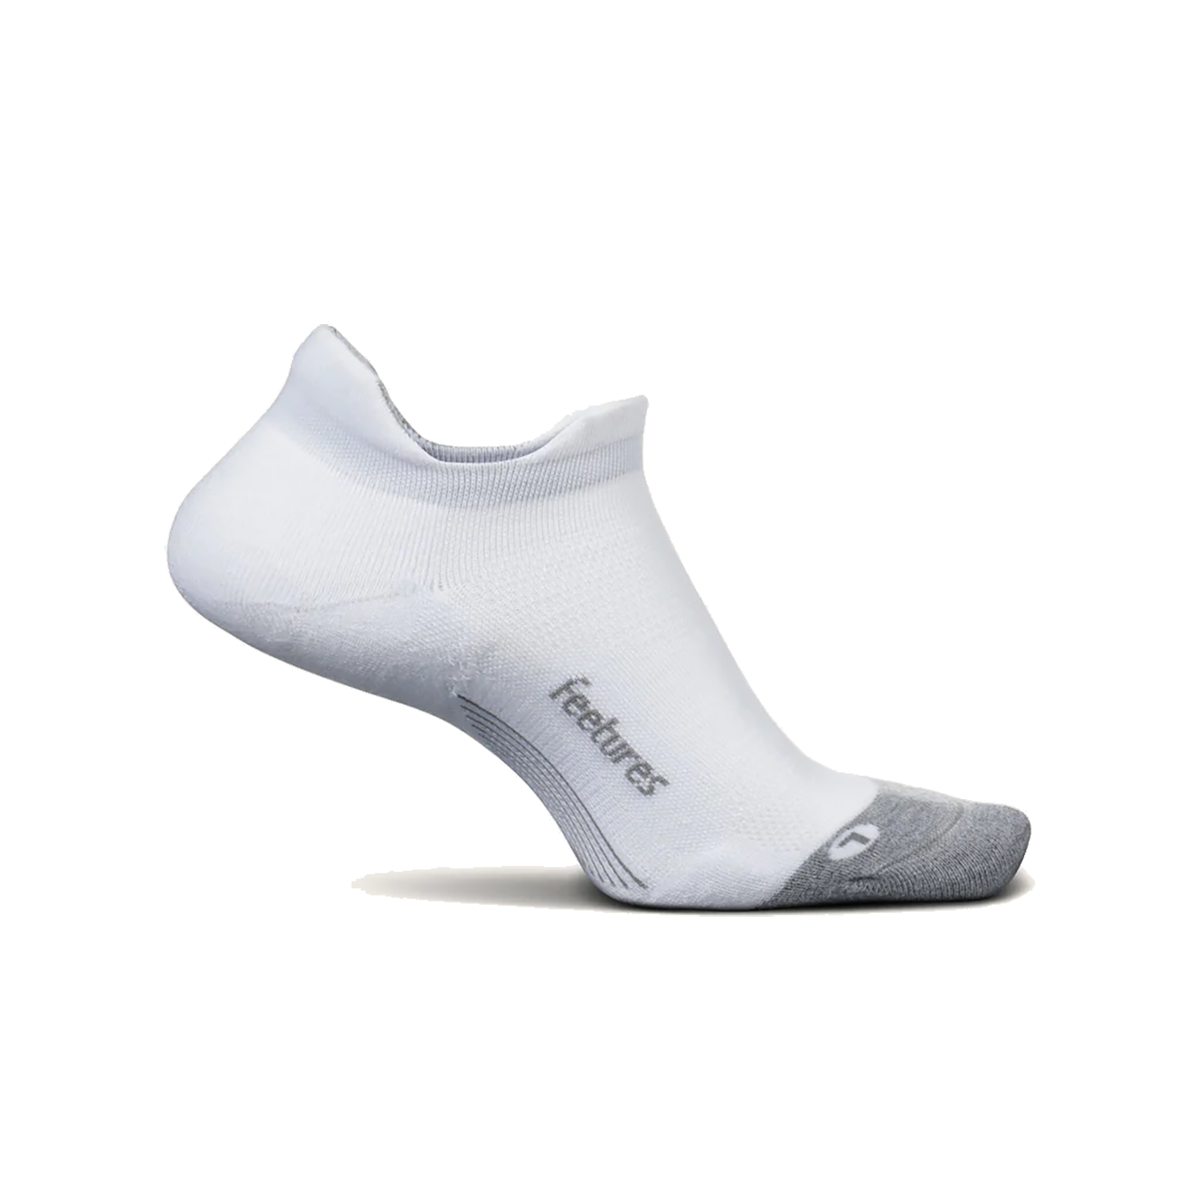
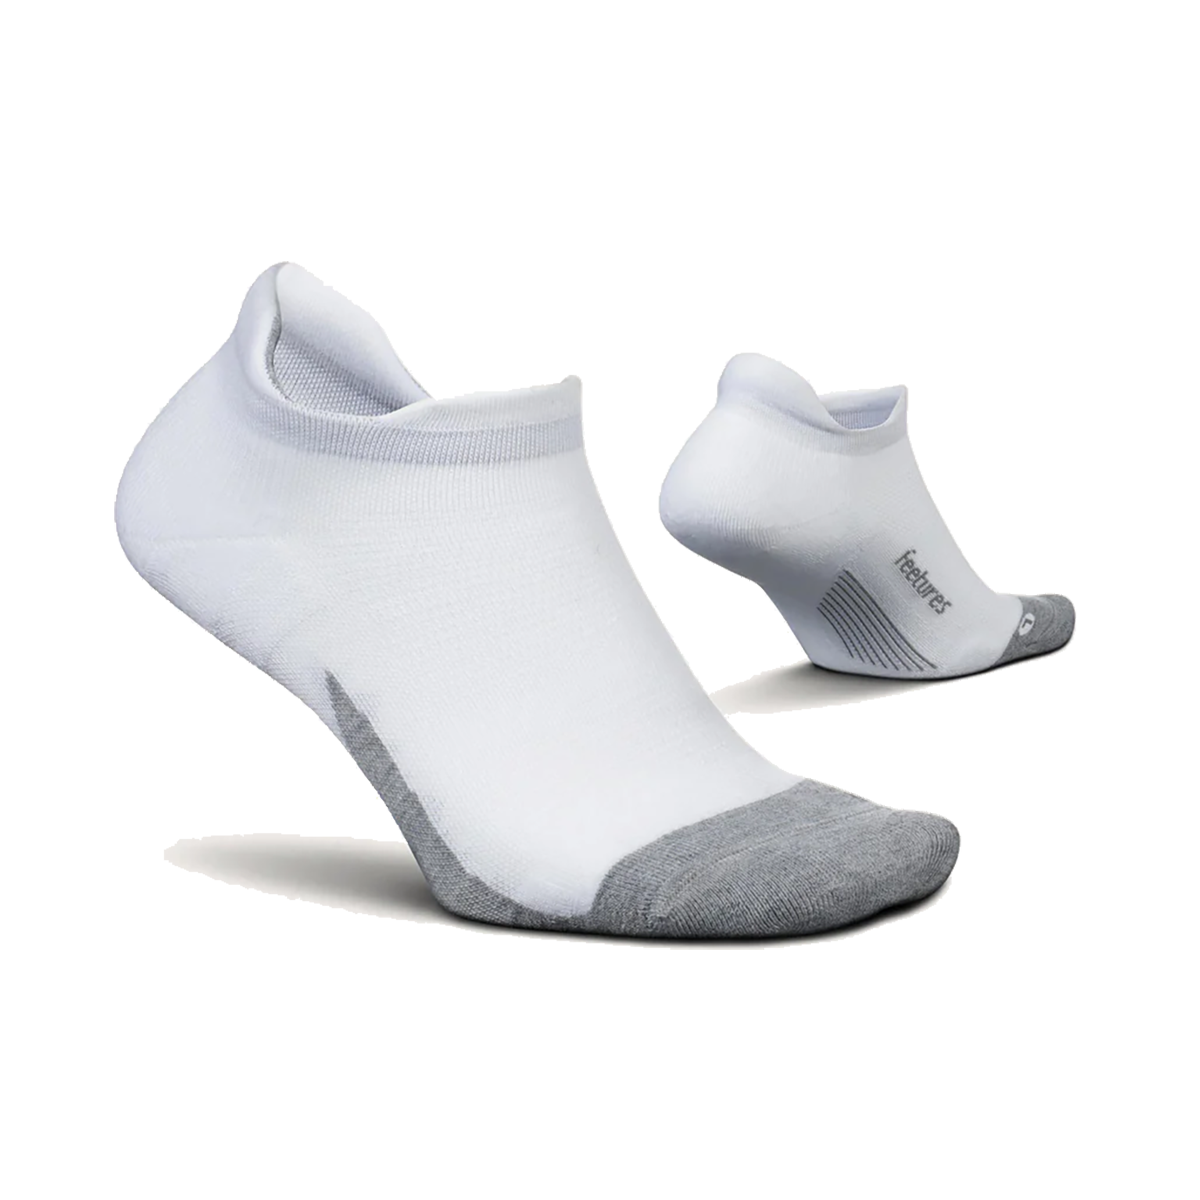
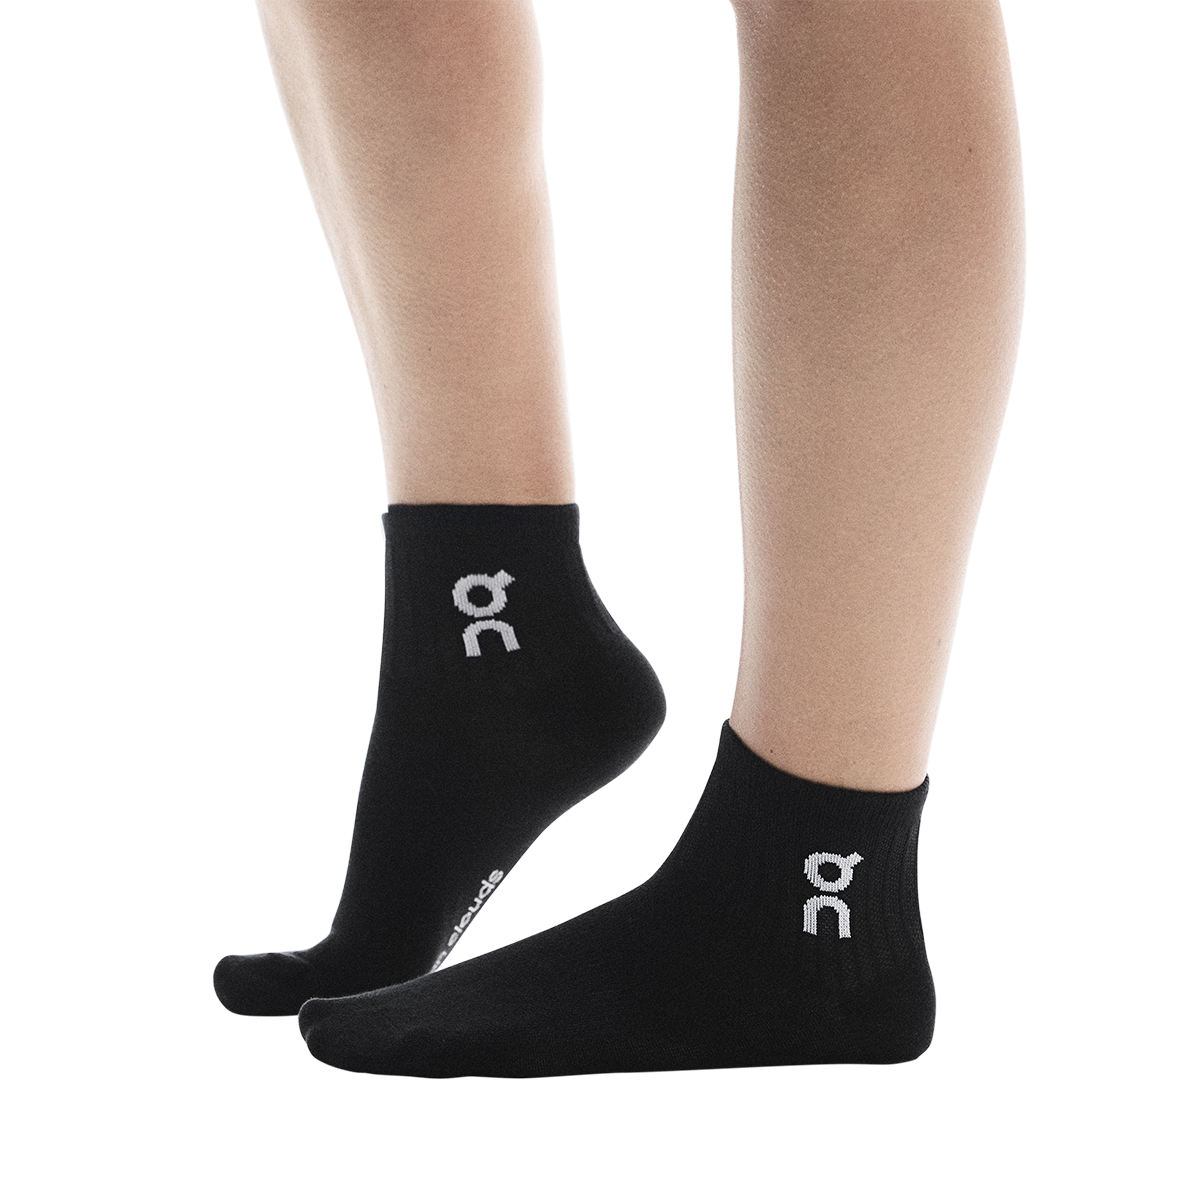
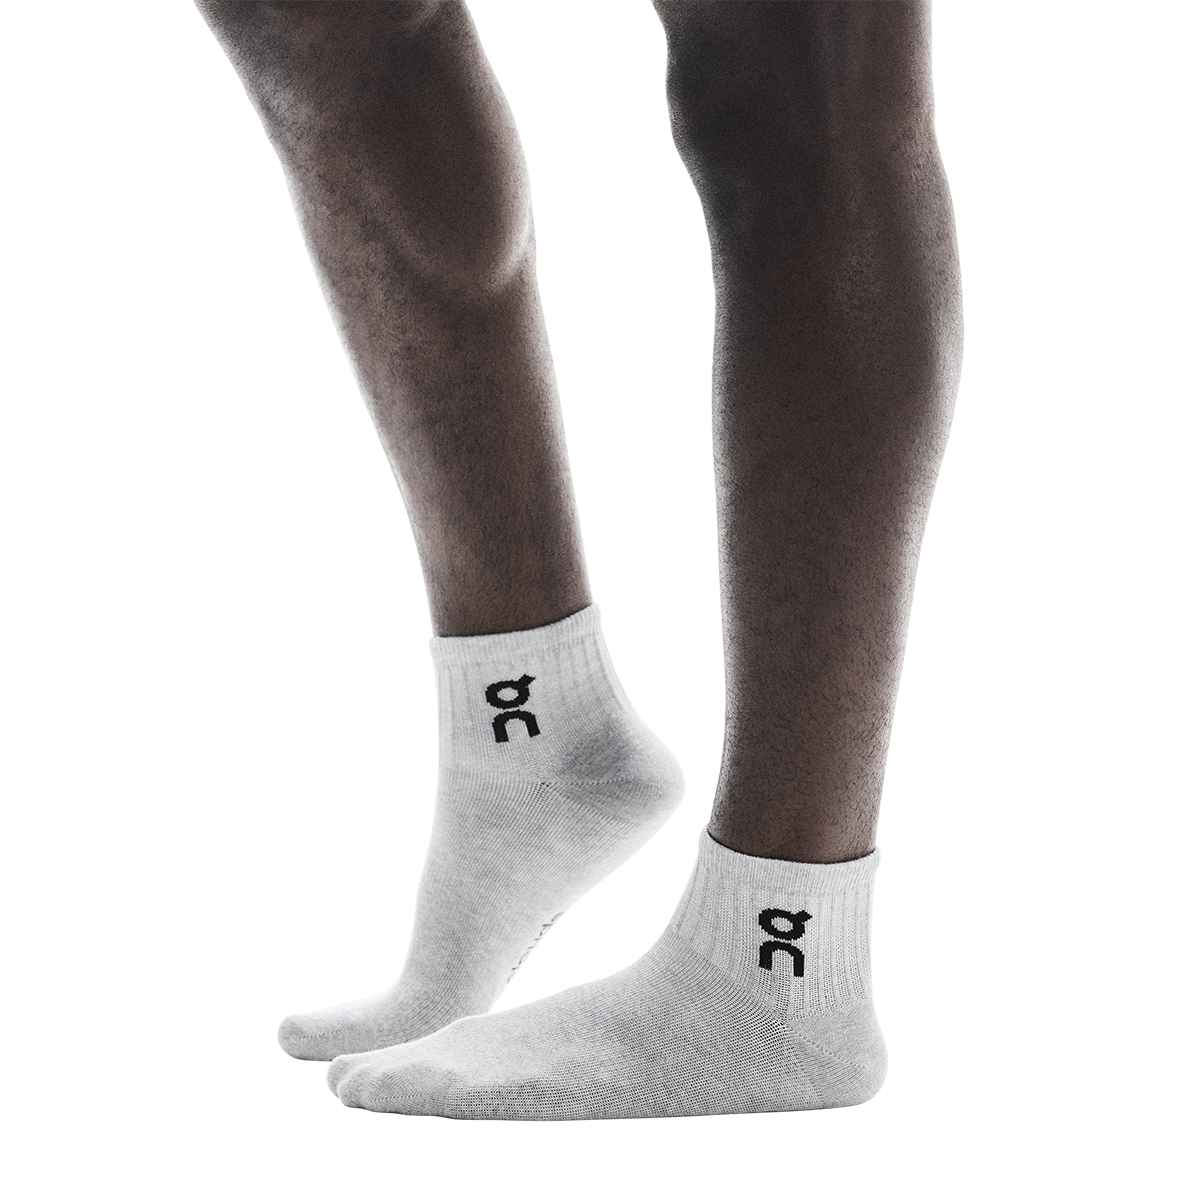
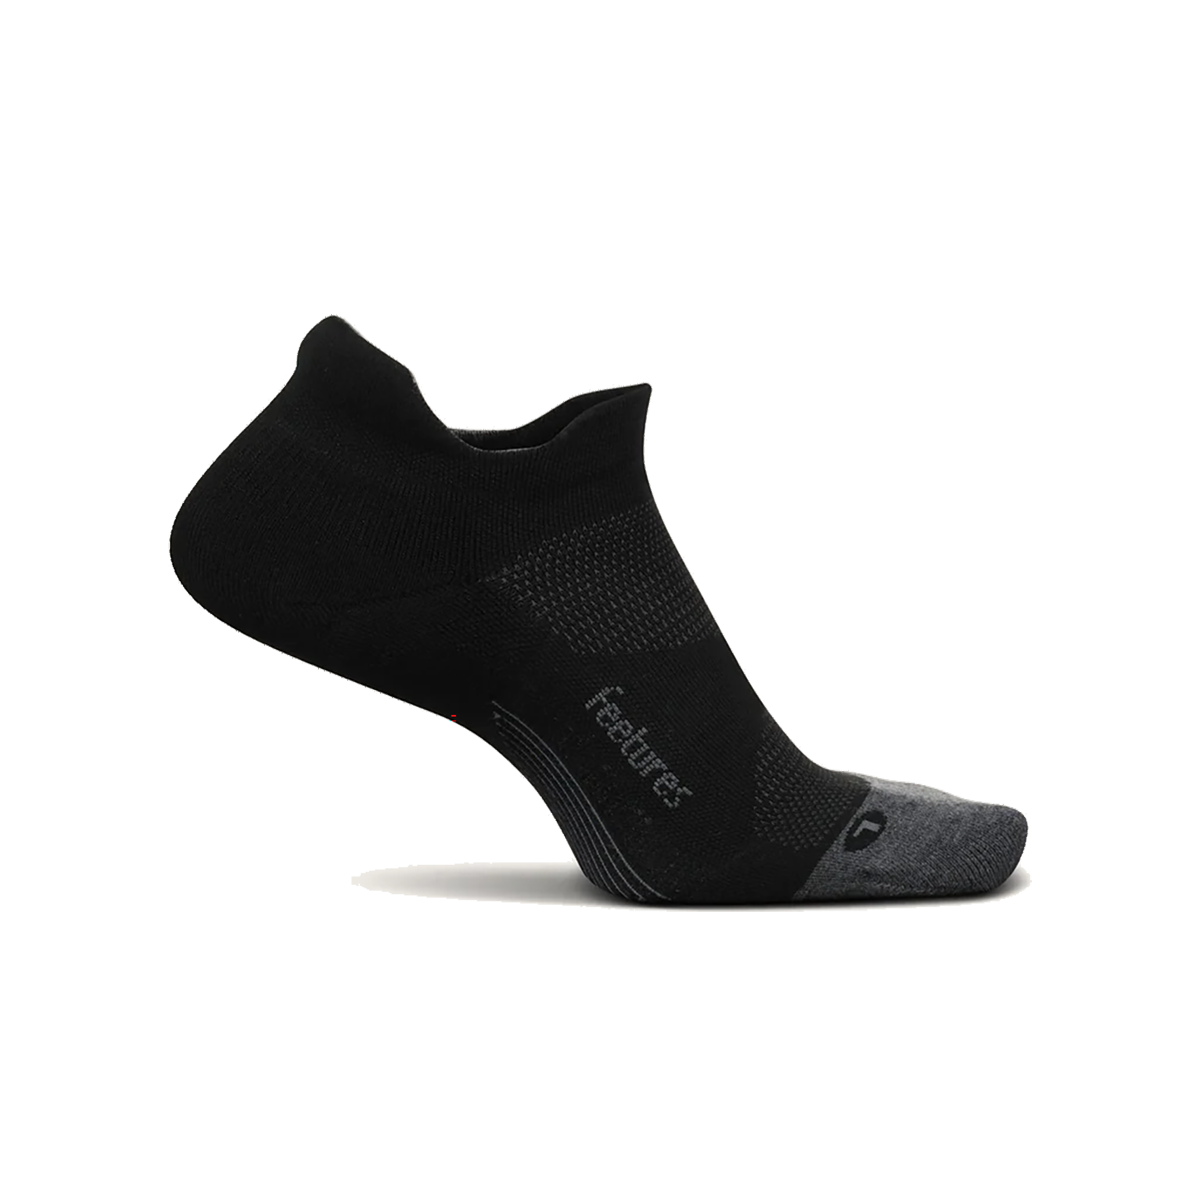
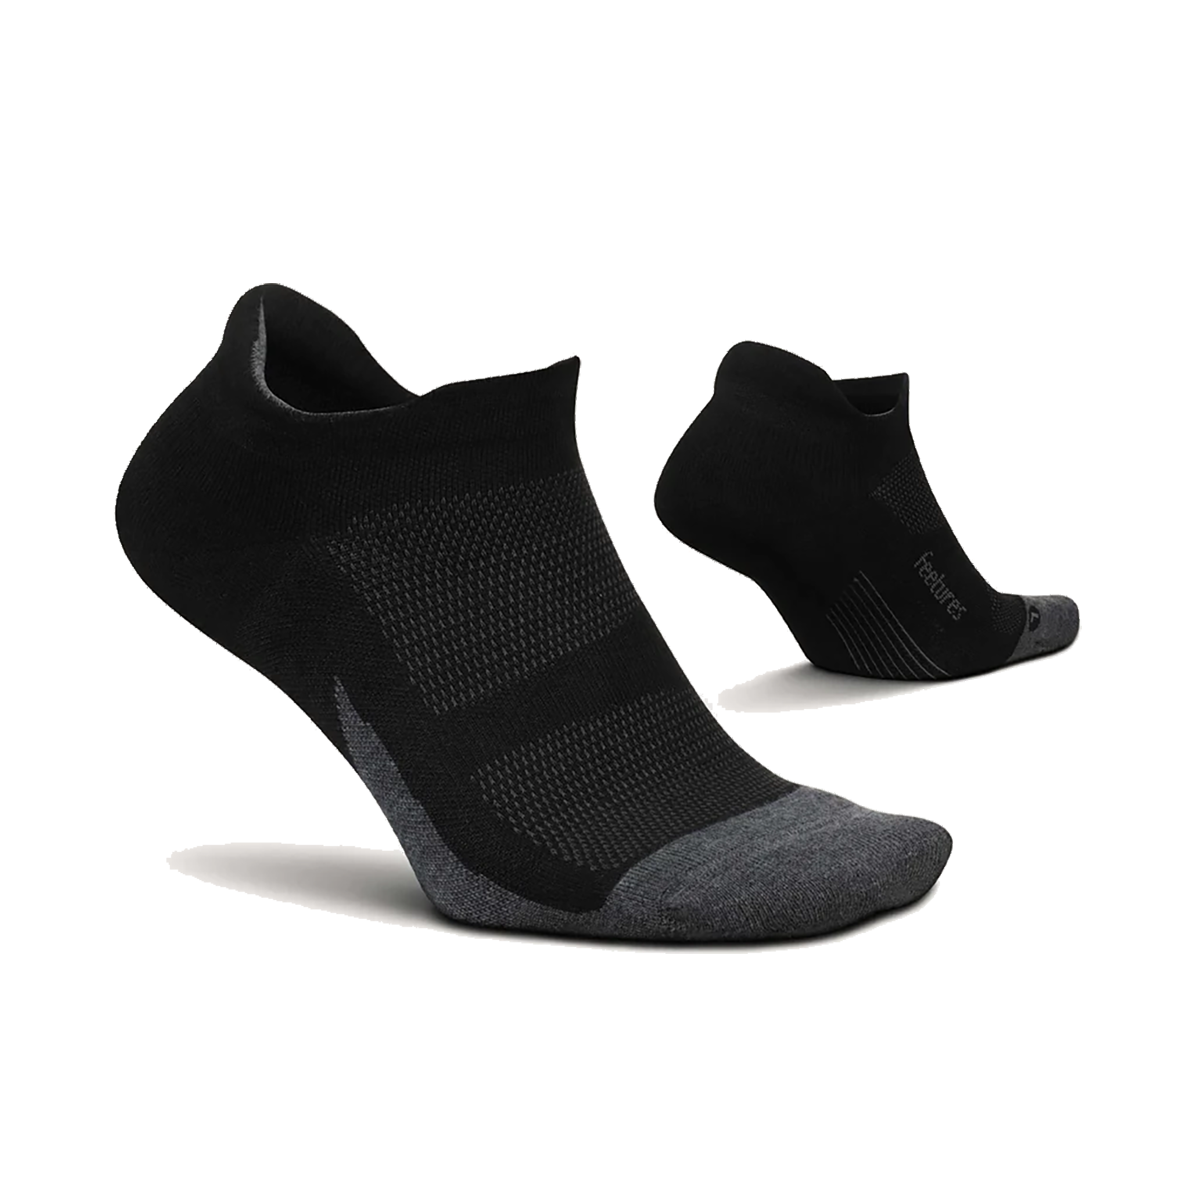
- Socks: Crew or quarter socks that won’t slip under floor work. If you want a refresher on sock choices and blister prevention habits, skim this focused section: Comfort Miles—Shoes, Socks, and Simple Recovery Wins.
- Shorts/tights + top: Quick‑dry knits with bonded seams and secure waist/straps. Link up to the apparel guide for specifics.
- Optional sleeves/gloves: Based on your turf, rope, and lunge comfort.
- Hydration/nutrition: Your tested setup—aid table only, nutrition belt, or belt with flasks.
- Bib management: A simple race belt is faster than safety pins and friendlier to your kit.
- Small towel: For quick hand dry before grips or wall balls.
- Warm‑up layer: Light hoodie or tee you can stash with your bag or a coach between heats.
Putting it all together: a mini race‑week timeline
Here’s a compact flow you can modify to match your start time and travel:
- 5–7 days out: Peak volume is behind you. Keep your run legs awake with a short threshold set early in the week, then sharpen with strides. Hit one “touch all stations” session at lower volume to rehearse flow.
- 2–3 days out: Prioritize sleep and simple meals you know sit well. Pack your kit and lay out nutrition. If you carry fluids, check flasks and belt fit.
- Night before: Light dinner, hydrate normally, set three alarms. Walk through your station order and any course notes.
- Race morning: Eat and sip based on your wave‑time plan from the fueling guide. Warm up with dynamic moves, a few 20–30 second pickups, and a couple of short machine bursts.
- Post‑race: Walk, sip, and grab a salty snack. Jot quick notes on pacing and any gear adjustments you’d make next time.
Troubleshooting common friction points
“I overheat on the machines, then feel flat on the next run.”
Back off 5–10 watts below your ego on the row and ski. Focus on tall posture and relaxed hands; you’ll run better if you leave each machine ready to jog. If your top traps light up, drop your shoulders and think “elbows low.” Apparel matters too—use the breathable kit cues from What to Wear: Breathable Kits That Survive Burpees and Sled Pushes.
“My hands slip on the sled pull rope.”
Lightly textured gloves can help if your gym’s ropes are slick, but they should enhance—not replace—technique. Keep shoulders packed and step back to preload the rope before pulling. For more station‑specific grip options, see Sleds, Sandbags, and Lunges: Grip, Gloves, and Knee Sleeves.
“Belts bounce on me.”
Most bounce comes from sizing or bottle placement. Start snugger than you think, center the heaviest flask, and angle holsters slightly for easier in/out. Practice over short intervals first. If you primarily need gel storage and bib control, a slimmer option like the Nathan Race Number Nutrition Belt may feel invisible compared to a bottle belt.
How to practice transitions like a pro
Set up a simple lane in your gym: cones for turns, a rower and ski erg, open turf for sled and lunges, and a spot for wall balls. Put shoes, belt, and towel exactly where you’ll reach for them. Your goal is to eliminate questions. Do your intervals and walk the first 10–15 seconds of each transition intentionally: breathe out, reset shoulders, glance at the path, then move. This is where the tips inside Race‑Day Strategy: Pacing, Transitions, and Station Setups really pay off—small habits that compound over eight laps and eight stations.
Cooling, comfort, and small wins that add up
Don’t overlook micro‑comforts. A tiny towel in a belt holster can dry hands before the sled pull. If you run warm, choose lighter colors and tops with mesh back panels. Quarter or crew socks can protect Achilles and keep debris out when you’re down for burpees. If toenails or toe boxes have given you trouble in higher‑volume blocks, this related fit piece is a quick read before race shoes: Wide/Narrow Fit for Marathon Volume: Preventing Toe Issues Late in the Race.
Training tools and accessories (keep it intentional)
Every add‑on should earn its place. A resistance‑band kit covers pulls and accessory work on travel days. A minimalist belt makes gel access brainless. A vest is fantastic for outdoor build weeks but may be more storage than you need inside an arena. If you like insulated bottles for warm venues or outdoor prep days, a compact option like the Nathan Trail Mix Plus 3.0 Insulated Hydration Belt can keep sips cooler while you rehearse race‑effort bricks.
Confidence checklist: the 10‑minute race‑eve review
- Pacing words locked: “Comfortably hard” on early runs, leave machines ready to jog, micro‑check every 1–2 minutes.
- Shoe fit tested: Heel lock good, laces tidy, no hot spots from burpees or lunges.
- Kit chosen: Breathable, quick‑dry pieces that survived a simulation without distractions.
- Hydration plan chosen: Aid table only, nutrition belt, or hydration belt—and you’ve practiced it.
- Station comfort covered: Grip strategy and, if needed, gloves or knee sleeves ready to go.
- Wave‑time fueling: Timeline reviewed from Fuel & Hydrate for Indoor Races: Simple Plans by Wave Time.
- Logistics: Arrival time, bag drop, warm‑up window, and your first 200 meters after the buzzer.
Key takeaways
- Build repeatability. The 8‑week split guide helps you thread running, stations, and recovery into a plan you can stick to.
- Keep pacing boring (that’s good). Smooth transitions and steady RPEs beat erratic spikes.
- Choose footwear by priority. Control for sleds and lunges versus speed on laps—there’s a shoe type for each.
- Dress for movement. Breathable, secure apparel keeps you focused through floor work.
- Fuel simply and carry intentionally. Decide now whether you’ll rely on aid or bring a belt—then practice exactly that.
Frequently Asked Questions
Should I race HYROX in a stable trainer or a plated shoe?
Decide based on where you gain or lose the most time. If sleds, lunges, and burpees are your swing votes, a stable trainer’s wider, flatter platform helps you brace and corner predictably. If your runs decide the day and your mechanics under load are rock‑solid, a plated trainer or super shoe can return seconds per lap. For a deeper breakdown with pros, cons, and indoor fit tips, read HYROX Footwear: Stable Trainers vs Super Shoes for Mixed Stations.
Is a hydration belt allowed or even necessary indoors?
Most indoor hybrid events allow slim belts; check your athlete guide. Whether you carry fluids depends on your preference and course layout. If you like hands‑free gel access and clean bib management, a simple option like the Nathan Race Number Nutrition Belt is easy and low‑profile. If you prefer steady sips between stations, a two‑flask setup such as the Nathan Trail Mix Plus 2 Hydration Belt works well. For exact sip and carb timelines by start time, see Fuel & Hydrate for Indoor Races: Simple Plans by Wave Time.
How do I stop chafing and hot spots with all the floor work?
Wear moisture‑wicking knits with bonded hems, choose quarter or crew socks, and secure waistbands and straps so nothing shifts during burpees or lunges. Test your full kit on a simulation day and adjust. For item‑level picks and fit advice across climates, use What to Wear: Breathable Kits That Survive Burpees and Sled Pushes.
My hands and knees take a beating on sleds and lunges. What helps without over‑gearing?
Start with technique: stacked wrists and locked elbows for pushes, shoulder‑packed pulls, and vertical shin on lunges. If contact points still complain, light‑texture gloves for rope pulls and 5–7 mm knee sleeves for turf contact can add comfort. The guide Sleds, Sandbags, and Lunges: Grip, Gloves, and Knee Sleeves explains when to use which and how to keep grip consistent when sweaty.
Your next step
Pick one thing to lock in this week: your footwear choice, your hydration carry, or your wave‑time fueling timeline. Then rehearse it on a short race‑simulation session. Small, confident decisions now turn into minutes saved and smiles at the finish. You’ve done the work—now let’s make race day feel smooth, strong, and fun. We’re rooting for you! 🏁